//Getting Kali 2.0 Running on a Raspberry Pi 2 Model B
General | Deron Grzetich | 5. September, 2015
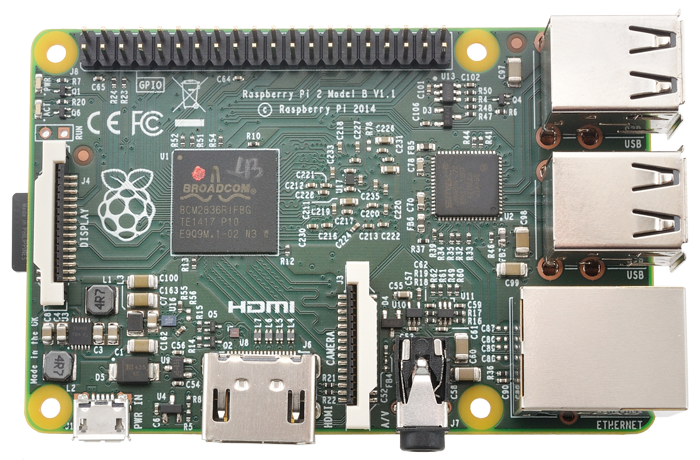

This post will walk you through getting Kali 2.0 installed on a Raspberry Pi 2 Model B. I’ve chosen the latest version of the Pi due to the fact that it has an quad-core 900MHz ARM Cortex-A7 processor and 1Gb of memory in addition to the 4 on-board USB ports, HDMI, and wired Ethernet all in the same form-factor as the previous models. Being new to a Linux distro is one thing, fighting through dependencies and learning how to navigate and operate the system, and throwing a new hardware platform on top may be a barrier to entry for some. While these videos do not show you everything they do get you to a working Kali 2.0 image with remote access. The motivation for this was to encourage more people to try going this route in this quarter’s run of CNS388/488 at DePaul. The videos below are broken into different parts as opposed to one long video to allow you to jump to the video instructions that you need.
Before you start you’re obviously going to need some hardware. At a minimum you should have (for reference I listed the products I’m using by link at the end of the post):
- A Raspberry Pi 2 Model B – Generally around $30-40 for the bare card (I found a $30 deal at Micro Center this past week for the Pi 2 Model B)
- A Case – Unless you are protecting the board in some other way
- A MicroSD card – Look for Class 10 cards and quality manufacturers if you plan to actually use this build for testing
- MicroSD adapters – Sometimes these come with the cards, but I’ll leave it up to you to find the adapter you need as many of us have these laying around from various digital cameras and such
- A USB-to-flash memory adapter – This isn’t necessary, but helpful if you’re using VMWare and another Linux image to expand the partitions
- HDMI-DVI or HDMI-VGA adapter – Only needed if you want to actually see the output from the Pi and do not have an HDMI input on your monitor
- A wireless keyboard/mouse combo – Again, only needed if you want to interact with the Pi using a monitor
Video 1 – Getting Kali 2.0 flashed on to your MicroSD card
In this video I’ll show you where to get the Kali image from and how to flash it to your SD card. I realize there are many SD flashing programs out there, but I haven’t found one that is as fast as PiFiller for OSX. If you’re using Windows you can search for Win32 Disk Imager and use that, or any other tool capable of flashing the .img file on to the SD card.
Video 2 – Expanding the partitions using gparted
This video expands the root partition of our newly flashed card so that we can install additional Kali tools and meta packages as well as store captured data or files
Video 3 – Installing Kali meta packages and getting SSH & VNC working
In this video we will install Kali meta packages to add additional tools and features to our Kali Pi image. You should note that, depending on your internet speeds, selecting the kali-linux-all package as I have in this video may take a few hours to complete. At the end we will SSH into the image and get a VNC connection established so we can interact with the Kali desktop as well as ditch the external monitor if we choose.
Video 4 – Tunneling our VNC connection through SSH
This video adds some security to our remote connection by tunneling our VNC connection through SSH. This is helpful to both limit the open/listening ports on our Kali image as well as tunnel all VNC traffic through an encrypted SSH tunnel. Note that I’m using a Kali 1.1.0c VM image running on VMWare Fusion as my remote host in most of the videos. The process is different if you use VNCViewer and/or Putty from a Windows system.
Video 5 – Changing SSH from password to public key based authentication
In the final video of this series we change the default SSH keys that were shipped with the Kali 2.0 ARM image as well as generate our our RSA keys to be used for SSH authentication. Finally, we turn off password based auth to SSH so only public key authentication is allowed.
Hope you find these helpful!
My equipment list/links:
Comments